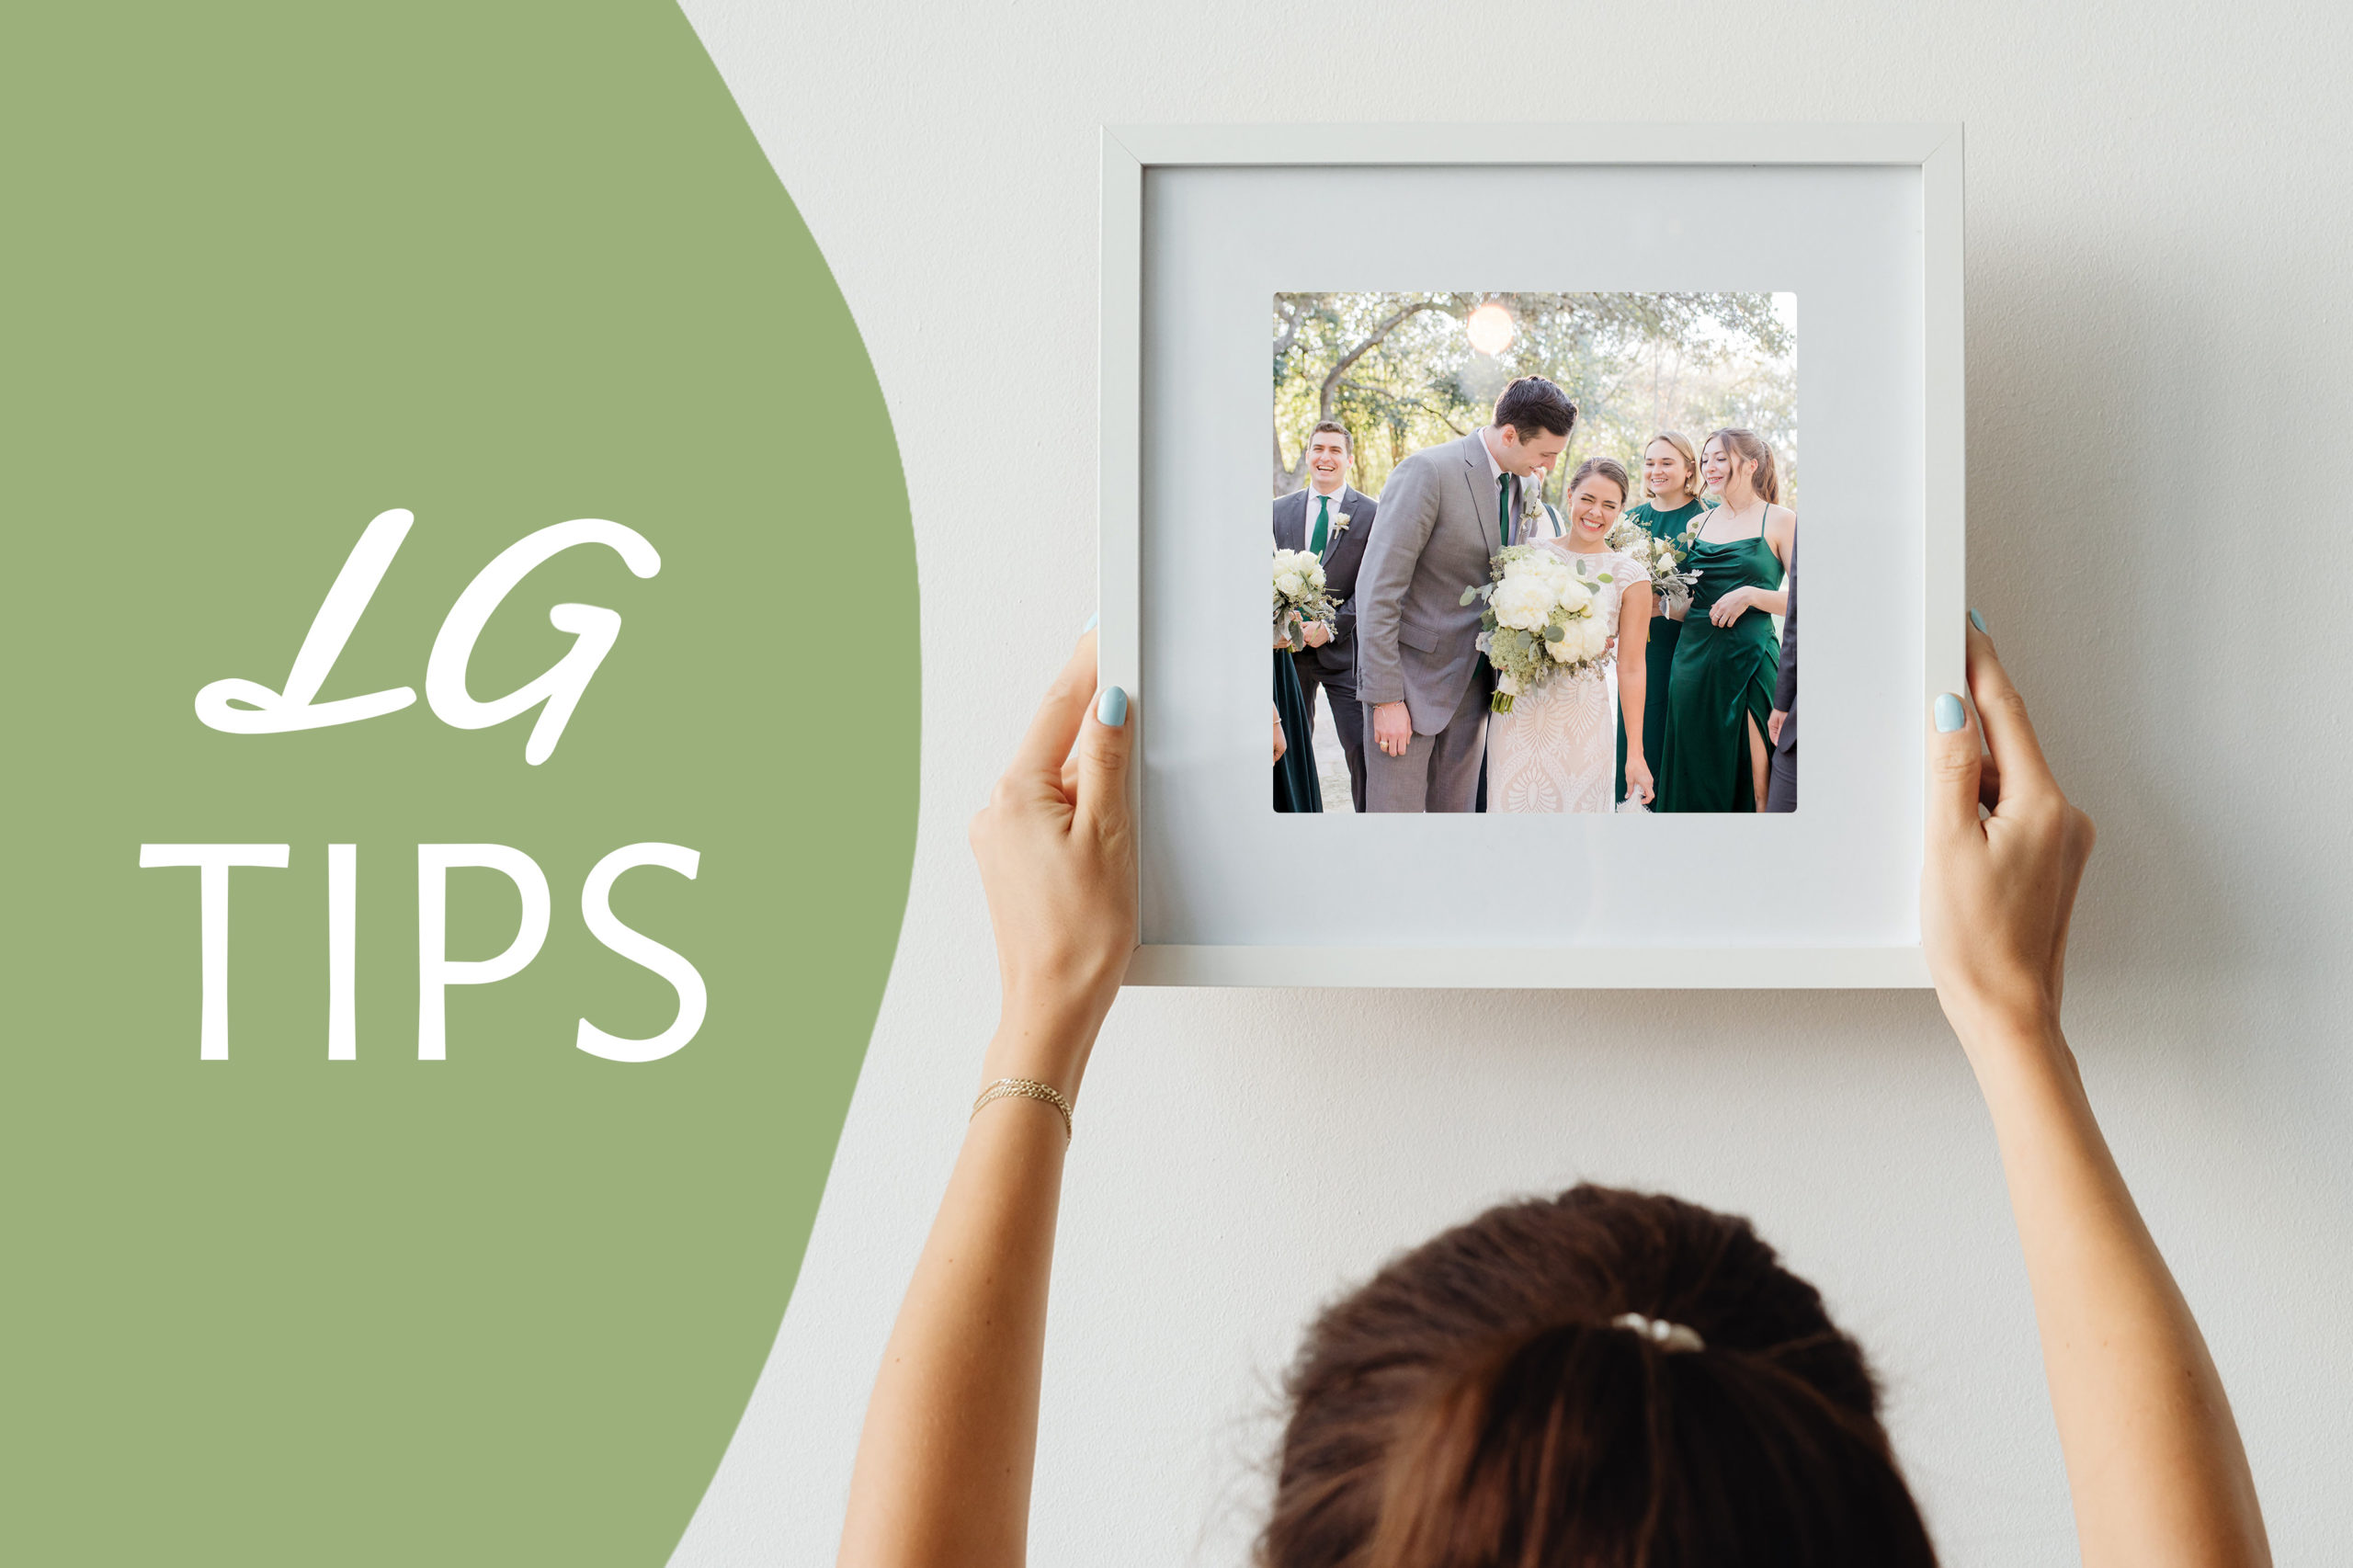
How to print and frame your photos at home
8/03/22
Let’s talk about printing and framing! My photo sessions and wedding collections include digital files delivered in an online gallery. You can download and you print your photos wherever you want, as many times as you want! I love giving you that freedom, because the photos truly belong to YOU.
Even though online access to your photos is great, I also want you to see your photos in real life! Printing and framing is the best way to enjoy them every day. I’ve listed my tips for taking full advantage of your photos, printing them in high quality, and displaying them ascetically.
Choose a variety of photos
When printing multiple photos that will be displayed nearby each other, choose a variety of close ups, middle shots, wide shots, and details. This will make the collection of photos more interesting and tell a story.
- 2 photos – 1 middle, 1 wide shot / 1 close up, 1 wide
- 3 photos – 1 close up, 1 middle shot, 1 wide shot
- 5 photos – 1 close up, 2 middle shots, 1 wide shots, 1 detail
- 7 photos – 2 close ups, 2 middle shots, 2 wide shots, 1 detail


More tips for pairing photos together:
- Choose some photos that are “camera aware” (when you’re looking into the camera), and some that are more candid (not looking directly into the camera).
- Choose a variety of poses and backgrounds, instead of two photos that are very similar.

Printing: Glossy or matte?
When ordering prints of your photos, you may have several paper options. The main two options are glossy or matte. I suggest choosing matte paper, especially if the photo will be displayed in a sunny room. This will make it easy to see the photo from all angles without a glare off of the paper.

Printing: Cropping and Composition
Sometimes you may need to crop the photo to make it fit within a different dimension. I deliver all of my photos in a 4×6 aspect ratio. If printing an 8×10, you’ll need to crop the photo, which is easy to do using printing websites.
The harder part is deciding where to crop the photo. These are the main things to remember:
- Don’t crop too closely to the top of the head or the bottom of the feet.
- Don’t crop at the joints. For example, don’t crop at an elbow or knee. Instead, crop in the middle of the thigh or forearm.
- Leave plenty of empty space around the sides of the crop. For example, it’s safe to assume that a frame will cover a small portion of the edges of the photo. So, don’t put someone’s face too close to the edge.
When cropping, try not to zoom in, because it can affect the quality of your print.
🚨 Always be sure to use high-resolution photos when printing.
Printing: Shop recommendations
Here are some of the most simple and effective ways to print your photos:
- Directly from your gallery. I use WHCC to fulfill orders from your online gallery.
- Printique
- Mpix
- Precision Camera (local to Austin)
All of these options allow you to upload your photos to a website and have prints shipped to you.

Printing: Paper or Canvas?
The main difference you’ll notice with canvas is in the texture of the photo. Instead of printing on a smooth surface, canvas has more of an obvious texture.
You can frame a canvas or hang it directly on your wall.
You’ll probably be given the option of making the sides of your canvas either white or black, or stretching your photo around the sides. I recommend stretching the photo around the sides. I personally prefer that look. Be sure you choose a photo that has plenty of empty space around the top, bottom, and sides. Otherwise, important content of the photo (like your face!) may be stretched around the side of the canvas, which will look super weird.

Framing: Choosing the best frame
Top tips:
- Consider the colors in the photo. Don’t choose a frame that will clash with these colors.
- Consider the style and colors in your home.
That’s pretty much it! You can’t go wrong with white, black, or a wood color that matches the wood already in your home.
Framebridge is a custom framing website that makes it easy to visualize what your photo and frame will look like together.

Hanging: Test your layout before hanging frames
Before you put nails in your wall, it’s important to be sure you’ll like the layout.
- Draw a simple sketch of the layout on paper.
- Lay out your arrangement on the floor or on a bed.
- Use tape to map out where the frames will sit on the wall.
Remember that you don’t necessarily need to hang every frame on a wall! Frames can also look nice propped up against something or leaning on a wall.
Command Strips are also really convenient. Just make sure your paint can support them.
Hanging: Arranging photos
Tips for arranging your photos together:
- Put “heavier” photos on the bottom – more bold colors, darker colors, more busy photos.
- Put the most important photos in the middle. Your eye will naturally go there.
- Separate photos that are similar to each other.

Hanging: Consider the space
This is a big one! The biggest mistake I notice is that a framed photo looks awkwardly too small or too large on a wall. 16×20 may sound large, but when you hang it on a giant wall alone, it will look very small.
Using frames with a larger mat board around the photo will help take up space.
Consider how close or far away people will view the photo. If you’re able to stand close to the wall and view it close up, it doesn’t need to be as big.
You’ve got this!
There’s way more science, math, and design that can go into printing and framing photos, but these are the basics. And I don’t think there’s a right or wrong way to do it. The most important thing is is actually do it!
Give prints as a gift to your partner. Set a deadline for yourself (maybe 1 month after receiving your gallery?) and order your prints before then. It really only takes a little bit of time and thought.
And it’s so worth it! Printing your photos makes them easy to enjoy and can make your home come alive. 😊
weddings
senior photos
learn more >
learn more >
proposal
learn more >


comments +