
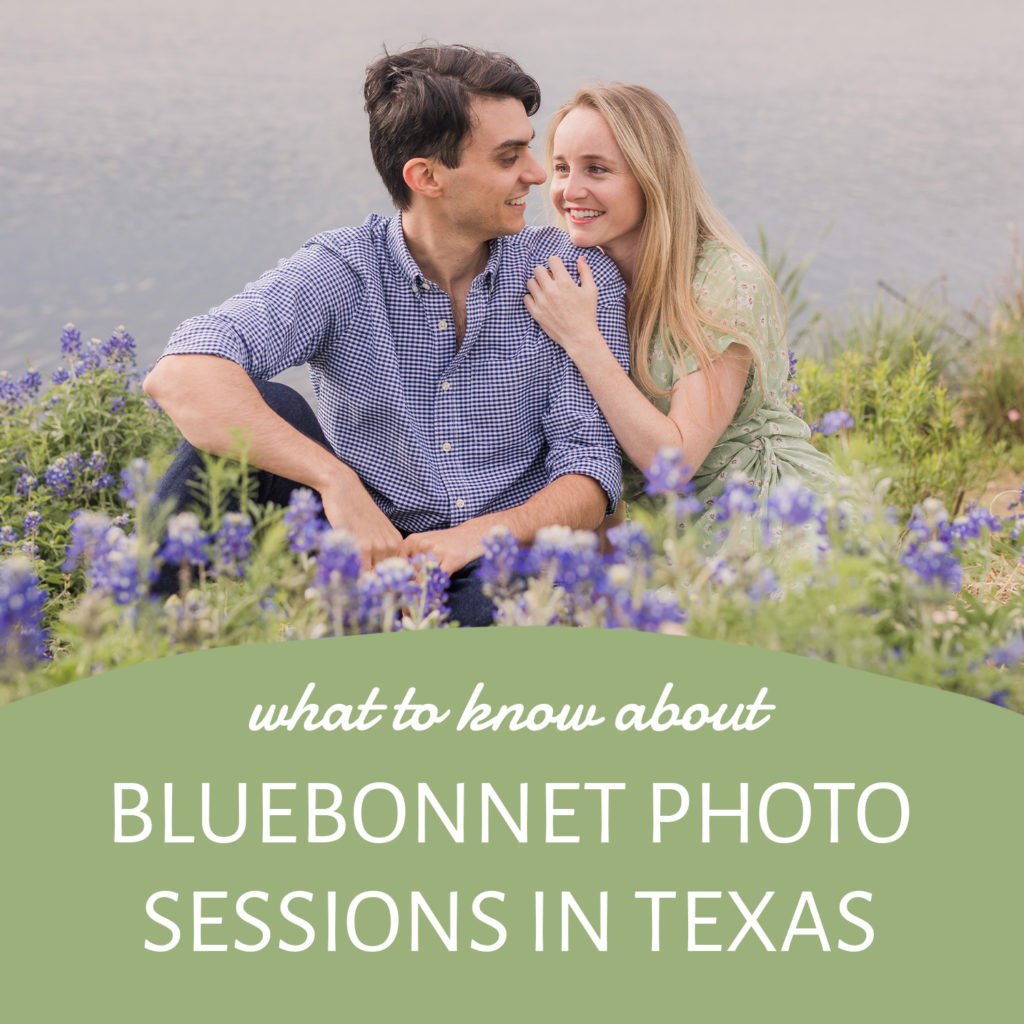
What to know about bluebonnet photo sessions in Texas
8/16/22
As an Austin, Texas based photographer, I photograph people standing, sitting, and laying in bluebonnets every spring.
Some of my clients see bluebonnets as a fun surprise at their session, and some hardcore bluebonnet fans seek them out intentionally, planning their whole session around them.
If you’d like to take bluebonnet photos with a photographer, it’s important to plan ahead. This blog contains evvverything you need to know about planning a bluebonnet photo session!
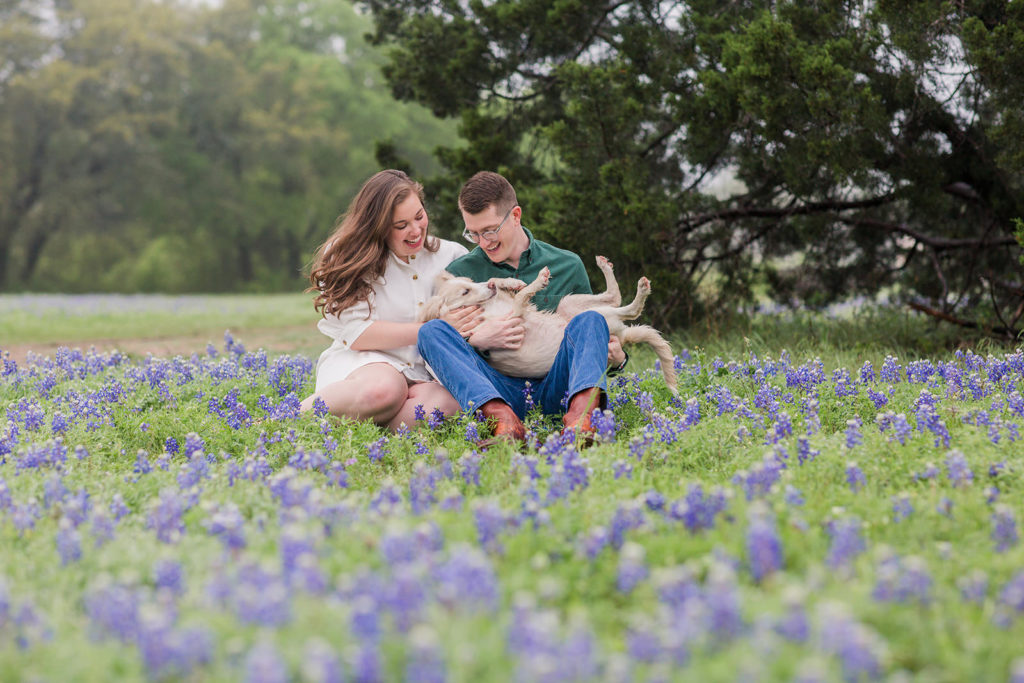
Ok, so what are bluebonnets?
Basic info for new Texans
Bluebonnets have been the state flower of Texas since 1901. They’re common along highways (thanks to Lady Bird Johnson), but you shouldn’t pull off on the side of the road to look at them. It’s dangerous, y’all.
They’re actually toxic, so don’t eat them.
Most Texans take pictures in bluebonnets at least once every spring. It’s a tradition to haul out your kids or your dogs, and attempt to convince them to cooperate for 10 minutes while sitting in flowers. Spoiler alert – most bluebonnet pictures are not the best, but maybe that’s part of the experience.
Every year, I get emails from multiple people saying they just moved to Texas, and they want photos in the “bluebells”. 😂
- Bluebell = ice cream 🍨
- Bluebonnet = flower 👍
It’s not illegal to pick bluebonnets, but please don’t do it. When you pick or smash bluebonnets, no one else can enjoy them.
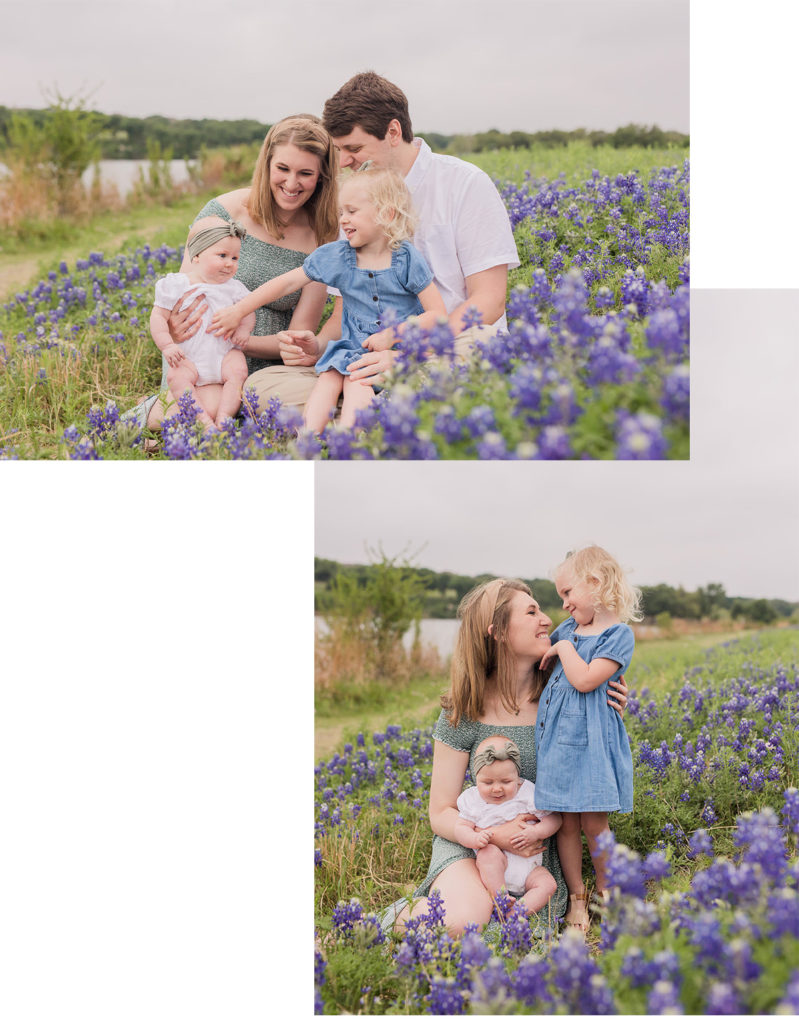
Timing can be hard to predict
Every year, bluebonnets bloom at a different time, though it’s usually sometime between late February and late April. A variety of factors affect their bloom, including weather in the winter and early Spring.
- In Austin in 2024, I’d say the bluebonnets peaked in late March/early April.
- 2023 – late March
- 2022 – mid April
- 2021 – early April
- 2020 – late March
- 2019 – late March
- 2018 – mid April
- But honestly, it’s different every year and at every specific field.
This makes scheduling a photo session a little tricky. If booking sessions in January, I usually take my best guess at when they will peak and only book bluebonnet sessions around that time.
But don’t worry! They’ll stick around for several weeks. Also, they don’t need to be their 100% peak bloom to take great photos with them. They’re a durable and resilient wildflower.
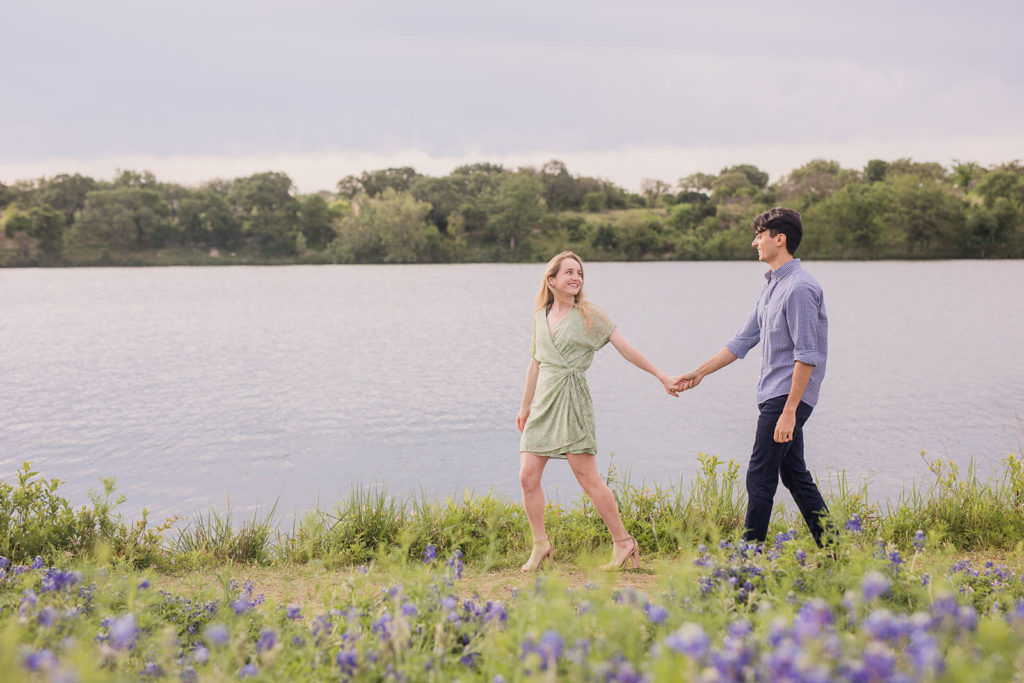
Locations can change every year
Sometimes, a park has great bluebonnets one year and none bloom the next year. Sometimes a property owner will mow them down. They are wild, after all.
You may also notice that some of the BEST patches of bluebonnets are along highways. That’s because the state of Texas plants tons of seeds along roadways. Thanks Lady Bird Johnson! While these thick patches are beautiful, it’s not safe to take bluebonnet photos (especially with kids and pets) along the side of a road.
There are usually not many options if you’re looking for a big, beautiful field of bluebonnets in a free and public place. Even in Austin – where bluebonnets are pretty common – there are only a few local parks that have big fields.
Some of these big fields are gradually getting worse though, because thousands of people smash the flowers every year!
Your photographer may ask you to be flexible on the location (but NOT the date), within a certain region.
.
You don’t need to find a huge patch
It’s alllllll about angles. Your photographer can be strategic, making a small patch of flowers look like it goes on forever. So, if you arrive at your session and the flowers don’t look great, don’t worry!
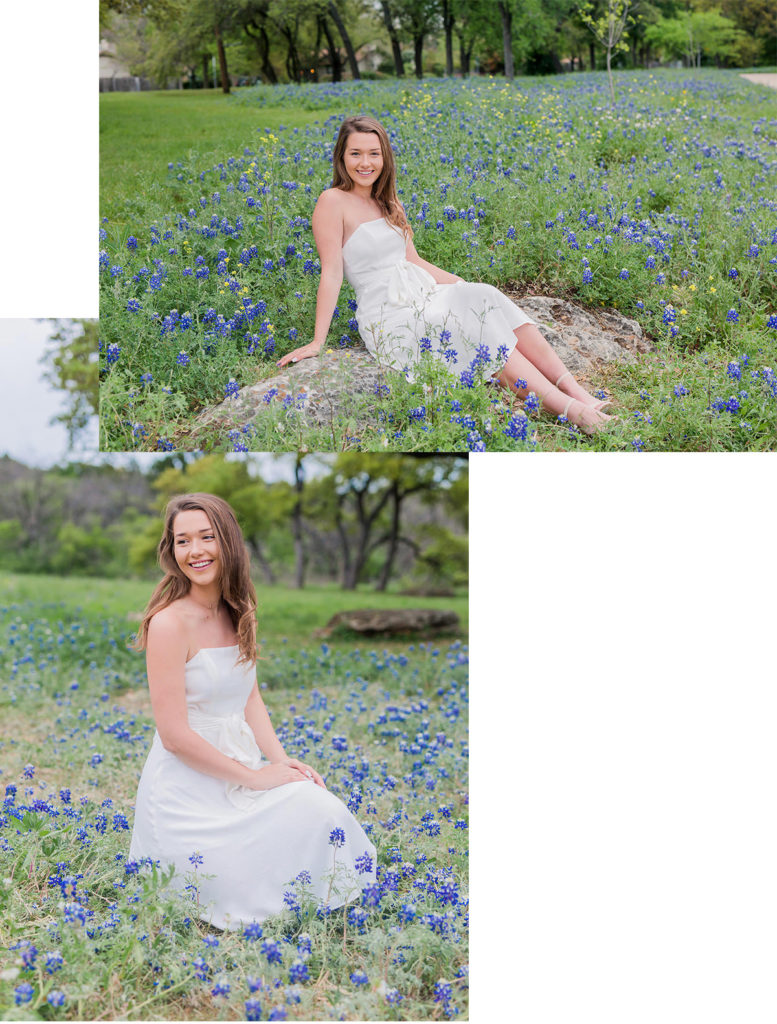
Be prepared to sit down
Because bluebonnets are low to the ground, the best angle for photos is also low. Sitting on the ground, with bluebonnets on all sides of you makes the flowers look larger.
When you sit down, try not to squish them. Your photographer should tell you exactly where to sit, and they’ll probably find a spot that’s already been flattened by other people.
It helps to bring a towel or blanket to sit on, in case the ground is wet. This blanket will probably be visible in some of your photos, so choose a color that compliments your outfits. When in doubt, choose a neutral color like tan or black.
Or if you like the look of sitting on a blanket, bring an oversized blanket so it’s more obvious. We can always fold it if it’s too big.
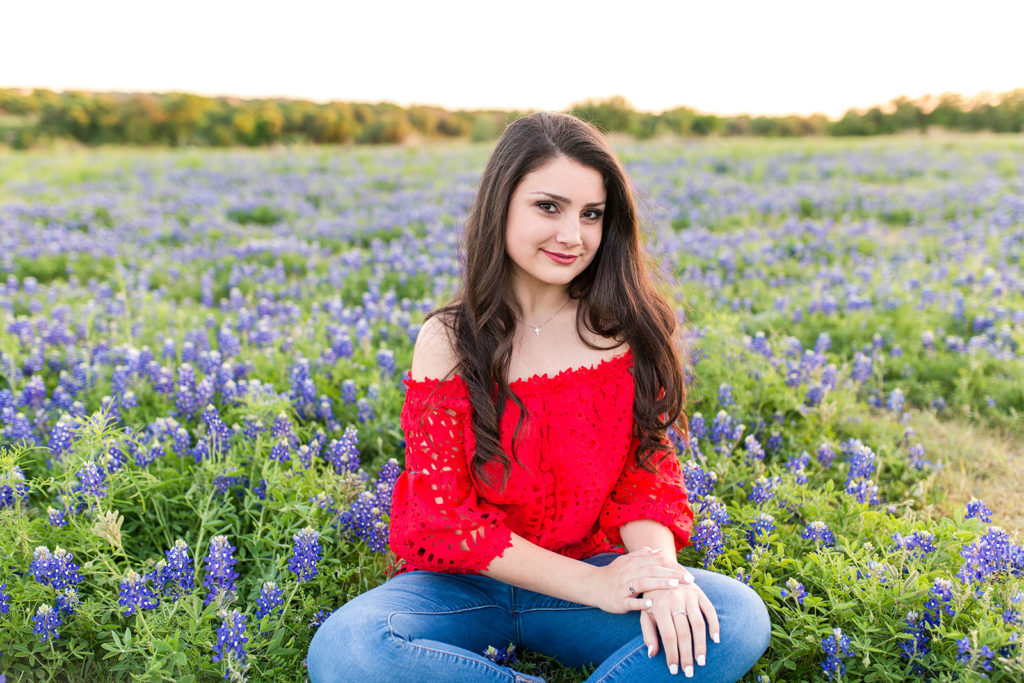
Sunset and sunrise are the best times of day
Just like with most portrait photography, it’s best to schedule your session for when the sun is low in the sky. This “golden hour” lighting will make the flowers (and you!) look their best.
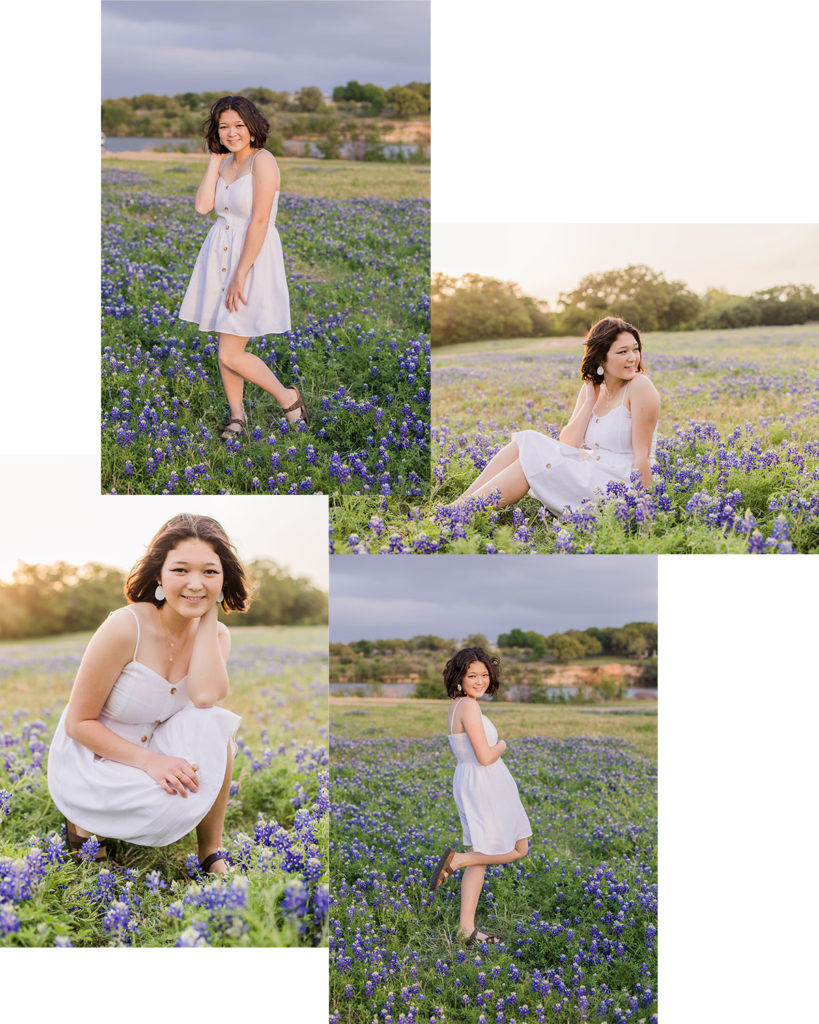
Big fields can be crowded on weekends
If you’ve lived in Texas for more than one year, you’ve probably seen HERDS of people standing in a bluebonnet field with their phones out, trying to take a new profile picture with their screaming kids. (And if that’s been you, no judgement!)
I like to give my clients more of a calm experience though, so I look for locations that won’t be completely overrun by people. Taking your photos near sunrise instead of sunset is a huge help.
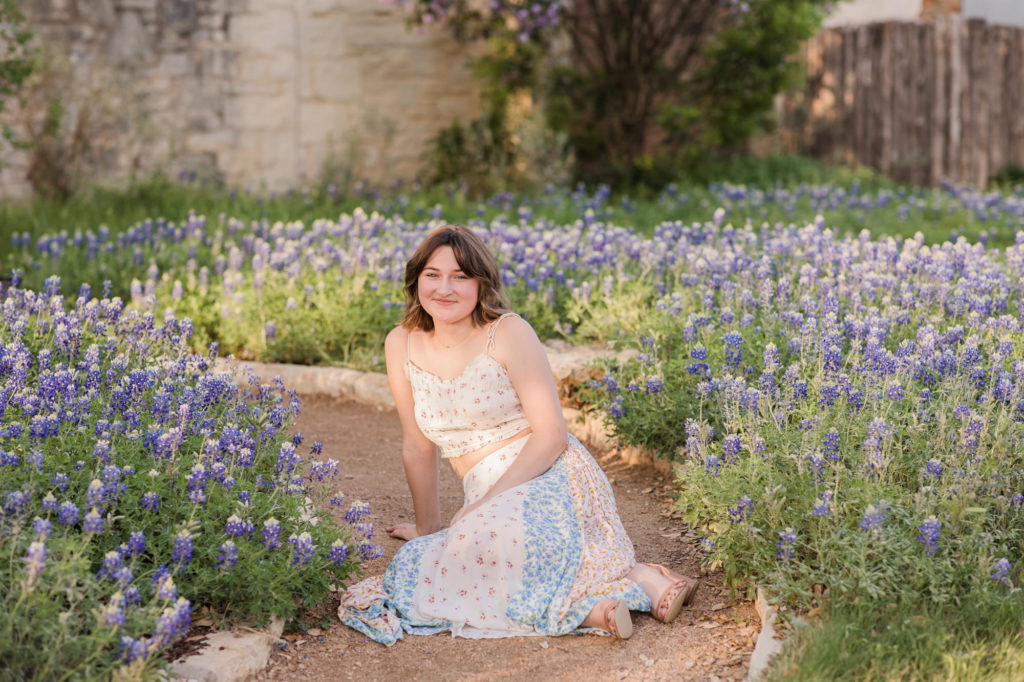
Outfit tips for bluebonnets
Red and yellow clothing will stand out the most on a blue and green background (flowers and grass).
White, black, tan, and other neutral colors look nice too.
Blue can look nice, as long as it’s the right shade of blue. Don’t choose a blue that would clash with the flowers. For example, teal might look strange.
Avoid busy patterns, because that may distract from the bluebonnets or make it hard to see your clothing.
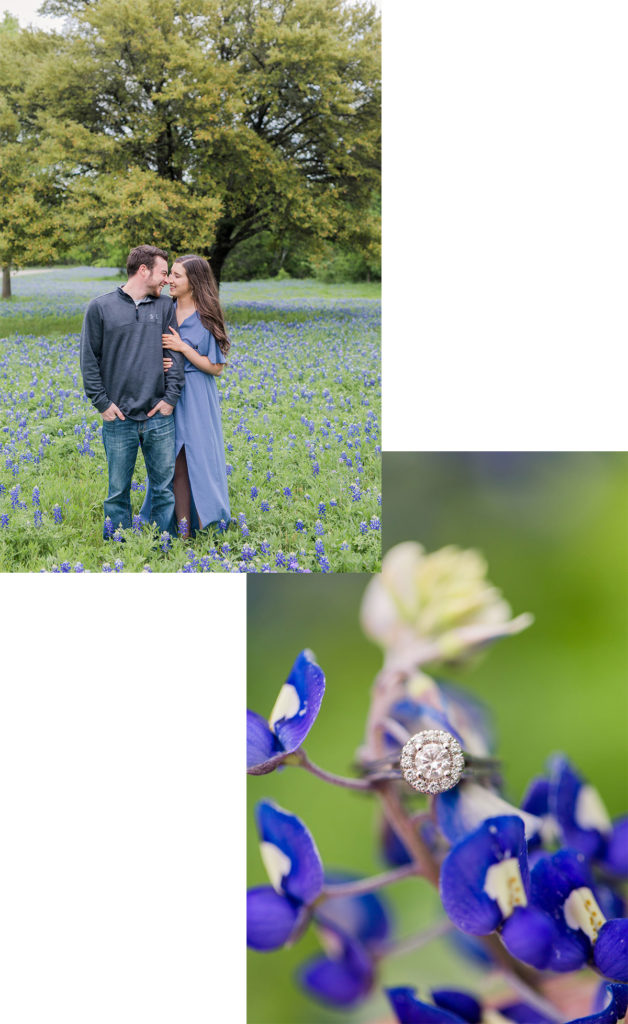
I hope this helps plan your bluebonnet photo session! It takes some extra effort and luck to find the right location and timing, but remember to stay flexible and get creative to make the most of the bluebonnets you find.
Spring Mini-Sessions
I have mini-sessions in Austin every year, and they usually line up with the blooming bluebonnets! They’re 20 minutes long, and are the perfect opportunity for updated family photos, high school senior photos, or even headshots. They tend to fill up quickly, so join my newsletter to be the first to know the dates and locations!
comments +
Leave a Reply
weddings
senior photos
learn more >
learn more >
proposal
learn more >
[…] Learn about the next SPRING mini-sessions Learn about the next FALL mini-sessions All you need to know about bluebonnet photo sessions […]